Thursday, March 29, 2018

Using One To One Technology in the Elementary Art Room

My professional goal this year involves using our new one to one technology in the Art room.  Because of the high number of students I see per week (900) I needed a simple way to use technology that would benefit the kids and be helpful to our technology goals.

Students were very excited to see why they were asked to bring their device to art class!

I decided to do a simple Google Drive folder lesson, having the kids name new folder as an ART folder.  I then demonstrated how to take a good photo of their work, no table, no floor, no fingers, etc. in the picture. Whole piece of artwork in the photograph. Students got to work photographing several pieces of work I had saved using the camera app on their ipads.

We currently are doing this in 3rd, 4th and 5th grades and I hope to use in grades 1st and 2nd next year when they receive their one to one devices.

Once I become better at the technology myself, it might be possible to do small voice descriptions of the art piece or create a slideshow. 
I was very happy to see how seriously they took their task of taking a good picture.  


Elements of Art Cactus Project 3rd Grade lesson

"I can use the Elements of Art" These colorful Owls and Cactus stand up projects turned out great and 3rd graders enjoyed using all the elements of art in their patterns.


I had students trace a cactus or an owl shape onto tagboard to begin the lesson. 


 We then discussed the elements of art and used all of them except texture in our patterns on the owls and cactus plants.  The TEXTURE was added with glitter lines after we discussed how texture looks on a 2D picture. 

As a final touch students cut out their shape and then used two small cardboard feet to hold up their art project.
All turned out colorful and artists were proud of their work.


Paper Plate Goose Kindergarten Project

"I can make art about my world"

Kinders talked about Canada Geese which they have seen on a lake in town. I told them I was going to show them an easy way to make a goose.


To begin every child was given a paper plate and a black crayon and teacher demonstrated on the board how to draw a v shaped beak, a neck and the back of the goose.  Then we colored each part with crayons and added black feather lines on wings.


Kids had choice of leaving the paper plate or gluing on to a background and drawing an environment around their goose. Also could add a winter scarf if they wanted to have more color.  

Many many geese were made at home or at art stations in the Kinder classrooms after this lesson!


Tuesday, November 21, 2017

Cute Clay Cupcakes First Grade Lesson

This project is available on Pinterest.  The cupcakes turned out very cute.  It was necessary for me to check each bottom piece after it was pressed into the silicon cupcake wrapper to ensure that air bubbles had been removed from clay.  I did not do this with the first class and had a lot of breakage.  


These were painted with tempera paint and coated with gloss medium.

Parents really loved these adorable and colorful cupcakes.

Picasso Emoji First Grade Lesson

I like to do Picasso with my First Grade Students.  They enjoy learning about his different styles and how famous he is even though his paintings are so unusual.

This new lesson combined a popular icon EMOJIS with the Picasso lesson.

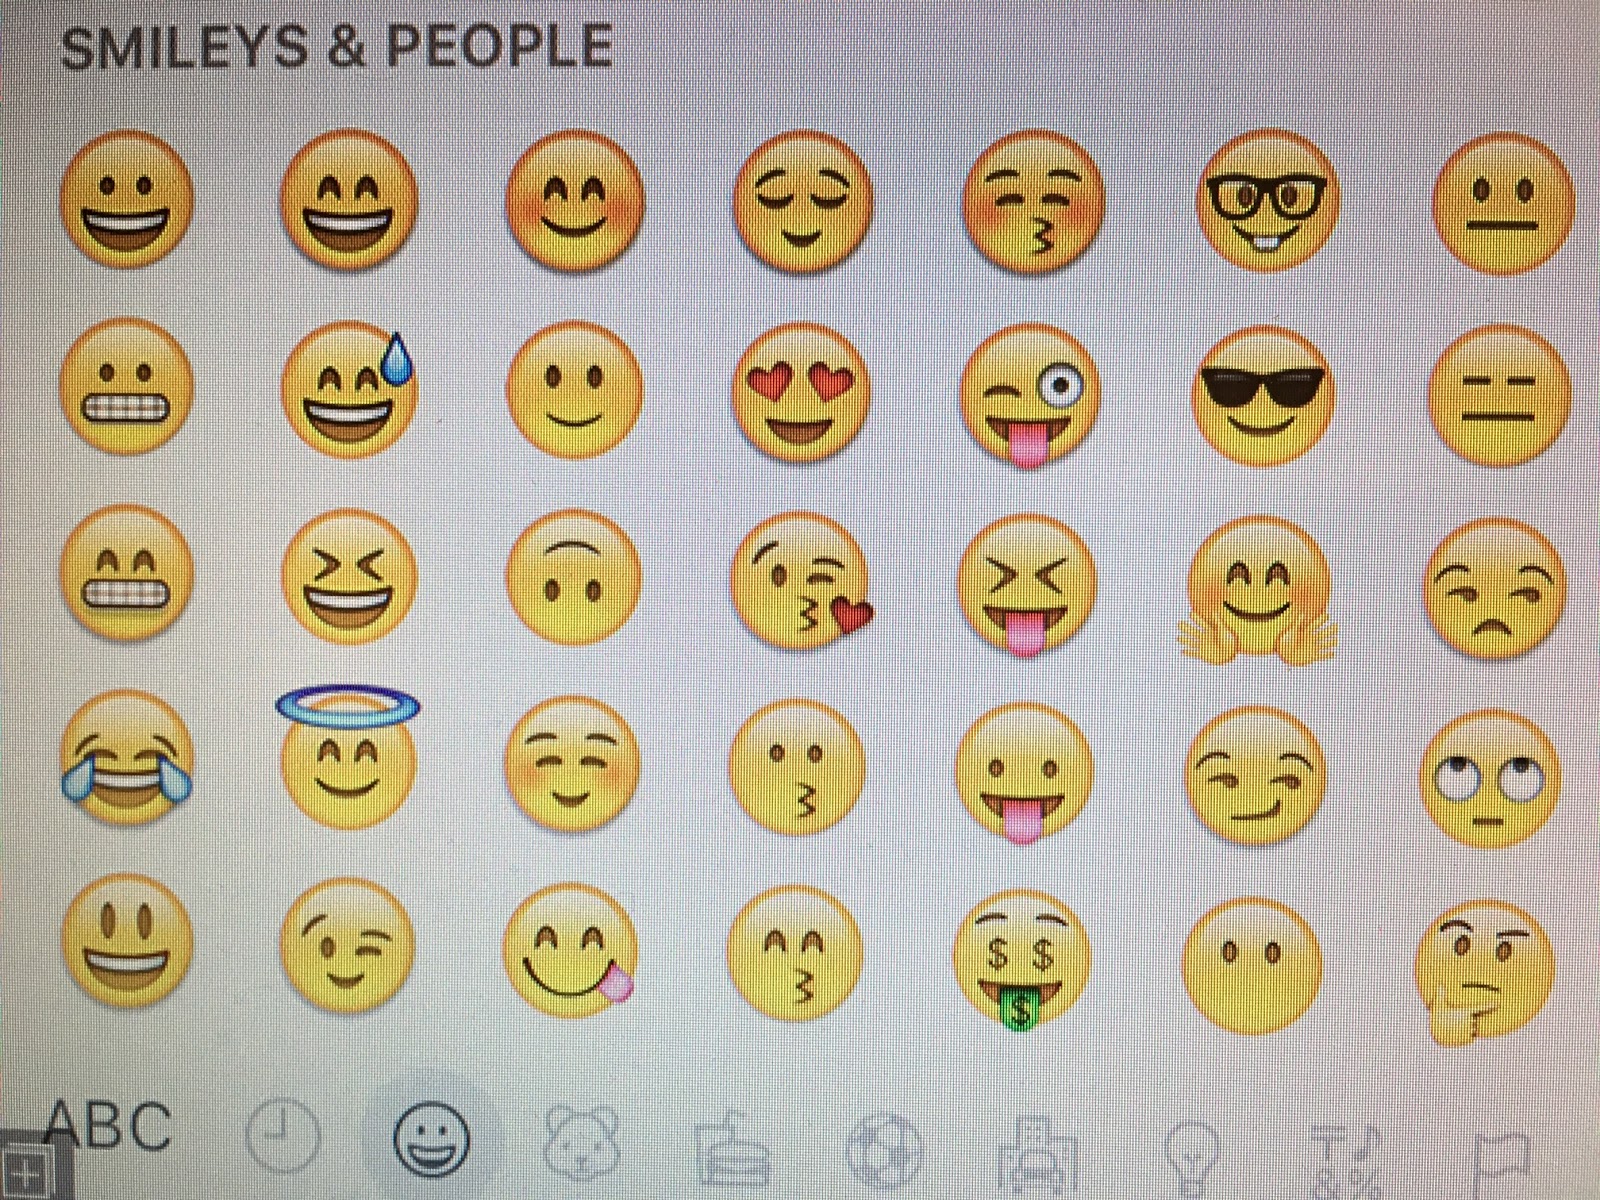
I began with a visual on the projector of common emojis.  I had students discuss at their tables the following questions: What are these called? How do you know about them? Where have you seen them? Do you think most people in the United States know about them? 
After discussion and coming to the conclusion that emojis are a popular item in our culture, we traced the inside of a tape roll in corner of our paper and chose an emoji to draw. We colored our circle with yellow and then drew chosen emoji with pencil and then colored with markers. 
Next the 1st graders traced a larger circle and glued it into middle of paper.
I read some parts of a book about Picasso, emphasizing his different color periods and cubism.  We then worked together to mix up our emoji in a Picasso style, using the same emoji as the small one but adding cubist shapes and moving face parts around.
Students thoroughly enjoyed this change up of the typical emojis!

Saturday, October 7, 2017

Beautiful Pumpkins with Golden Vines First Grade Lesson Plan

For this lesson we looked at pumpkins on the vine visuals on the projection screen. The kids were especially impressed by the giant pumpkins! Artists then drew with pencil on an orange half sheet of construction paper. We drew a long stem and tried to use up the whole paper. If the pumpkin had a bump or wasn't perfect that was even better!
We looked at the high light on the pumpkins in our visual and how it was darker near the bottom. We colored those details in with construction paper crayons. 
After cutting pumpkins out carefully, students glued onto black back ground and added a light source, moon or stars or both. 
Last and most favorite part was to paint beautiful, curly, golden vines coming from the stem.

Extension/ Exploration and Problem Solving Ideas

Part of my professional teaching goal last year was to provide students with more problem solving and exploration type of projects.  This is difficult to do in a 35 minute Art period once a week when I have curriculum to cover and lots of different materials I want them to experience. 

However, I found that once they got used to doing this type of activity they enjoyed it.

Here are a few ways I provided students with open ended lessons and problem solving opportunities. 

This was an extension of the X tiger lesson. After drawing the tiger using a letter X and discussing the parts of a tigers face and patterns of a tiger, Kindergarteners were given white, black and orange paper and asked use scissors, glue stick and crayons along with the colored papers to create a tiger. The visual of a tiger was on the projection screen but they were given no other guidance.
 Those who finished their problem solving paper tiger could also color a cupcake with animal patterns. Visual of animal print cupcakes was on projection screen.
 For this lesson, 2nd graders watched a drawing video of how to draw a cute penguin (Art Hub For Kids. com). After completing their drawing and coloring it they were asked to make another penguin using only black and white construction paper, blue tissue paper, scissors, glue stick and markers.  
 This was similar for 1st graders who watched a robot drawing video and then made a robot out of gray construction paper and marker.
After they finished both projects we discussed which was easier or more difficult for them and why.


Dream Catcher Drawings 4th grade Lesson plan

For this project students looked at a picture of various feathers and drew them at the bottom of their paper after tracing two different sized circles to make the ring of the dream catcher and the center.
 I showed them how to draw lines between the outer and inner circle to look like strings. They chose their own design or picture to go inside the inner circle.  I tried to give them lots of choices for this project.  I had them do a small thumb nail test of chalk, crayon resist and colored pencil to see which technique they wanted to use to color their drawing. 
The 4th graders did a great job on making these look beautiful!


Laura Burch Cats and Dogs 1st grade lesson

 For this project we started by viewing Laura Burch work and some realistic animal paintings as well. We discussed the difference in using real colors or brighter, whimsical colors and students gave opinions on which they preferred and why.
We watched a short video about the artist and then students chose cat or dog for their project. We created these on a paper bag so they could be stuffed and be 3 D as I wanted my first graders to do another 3D experience. The face was drawn on a separate paper and then glued on so as not to waste paper bags in case of a do over. Ears and tails were made with construction paper and also glued on.
I left the Laura Burch visuals up for inspiration and encouraged bright                                                           colors and patterns.

 I think they turned out amazing and the first graders loved their colorful cats and dogs!


Monday, January 18, 2016

Gingerbread House Paintings Kindergarten lesson


Kinders love to paint! These houses were traced first on brown kraft paper and then we started with the white paint (frosting).  Every year the Kinders make graham cracker gingerbread houses in their classrooms with their parents so painting a 2D one was a neat tie in to the one they were building in class.  They were very familiar with all the kinds of candy that can be added once the sticky frosting is applied!  The Gingerbread cookies were colored with construction paper crayons on brown paper and added the next time after the kids cut out the houses.


Very fun and colorful!

Christmas Cacti Lesson 3rd grade

Living in Michigan, we have decorate Evergreen trees in our yards for the holidays so my 3rd graders were intrigued with the photos I showed them of decorated cacti plants! I asked them why someone might put lights on a cactus instead of a fir tree. They quickly problem solved that it was because they didn't have the same trees where they live as we do. 

We had a lesson on drawing cacti plants of various types and they filled a pot with cacti. Students then had the option of decorating the pot with southwest type designs or Christmas designs. They could also add things to the cacti like lights or small Santa hats.

 I gave them this idea sheet to get them started on southwest designs if that was their choice.  Some chose to do a combination pot of southwest and Christmas.
 
small details were colored with colored markers and then large areas were colored with chalks rubbed with paper towel.  These turned out lovely!


School Auction Art Projects

I was asked to have my art students create a grade level project to be auctioned off at the PTO spaghetti dinner/auction fundraiser.  This required finding something that approx. 150 children per grade level could work on as one project during their art periods. Luckily, Pinterest had several ideas for group projects that I was able to get ideas from. 
I talked to the kids about how artists can benefit their community through community art projects or by donating their work.  The students were excited to help the PTO and work on one large piece of artwork as a grade.  Hoping to raise lots of money for field trips and events through our donation!

Kindergarten thumbprint cityscape. When all kids have added thumbprints I will remove the green stencil and this colorful city will be displayed in a glass frame.


1st graders each colored a cupcake and 150 cupcakes are being applied to this repurposed furniture pallet with gloss medium.
 
2nd graders are using paint markers to make radial patterns on a spray painted table. They already learned this technique on an earlier lesson with paper and oil pastels so students are familiar with making patterns in a circle instead of a line. With so many kids needing to work on this small table, each child makes one pattern of the circle.
 
 
3rd grade is similar to the 1st grade project except each artist colored a beautiful teacup!
 
4th graders are painting a large tree with concentric circles. They learned about this art style in 3rd grade so it is going very smoothly. Using acrylics on wood.
 
 
The 5th grade thrift store chair I spray painted white is going to be covered with zentangle designs.  Again, they did zentangles earlier in the year so they can quickly create their doodle in a space on the chair and then return to working on their independent art project.


Tuesday, November 17, 2015

Reflecting Swans Drawing Fourth Grade

Love this drawing lesson I found on an Art blog. Great lesson in symmetry because I had the students turn their papers vertically in order to draw the reflection as much like the swan as possible.

We drew lightly in white construction paper crayon and filled in only when we had the shapes as close to mirror image as possible.


Adding the water, plants and background was the final touch to these beautiful pictures.
 
Along with a patterned frame.